1. Study on detection of HP40 furnace tube
HP40 is a kind of nickel-based alloy material. For the non-destructive testing of furnace tubes of this material, ultrasonic testing is undoubtedly a problem, because the grains are thick, the energy transmission loss between grains is huge, the attenuation is very serious, the signal-to-noise ratio is poor, the detection rate is low, conventional ultrasonic and ordinary phased array testing can not be implemented.

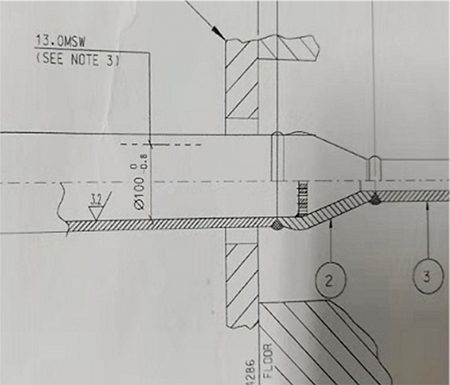
Furnace tube size drawing (outer diameter 126mm, wall thickness 13mm)
Using radiography to detect, the catalyst in the tube will have a certain impact, and the small cracks may also be missed; eddy current testing and penetrant testing can only monitor the surface defects, but not the internal defects.
The CTS-PA322T is used to detect in 3D-TFM mode, which can find the groove signal of furnace tube and effectively solve the detection problem of HP40 furnace tube.
2. Detection system of HP40 furnace tube
Test Block:
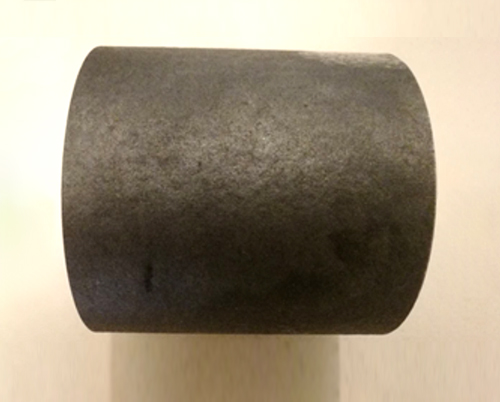
The cracking of the furnace tube mainly starts from the inside, so the defect type of the test block is mainly considered as a simulated crack, and the narrow groove is processed by wire cutting, with the depth of 4mm and 8mm respectively. Axial groove size (length × width × depth): inwall 100 × 0.5 × 4mm one through groove and inwall 100 × 0.5 × 8mm one through groove, 180 ° apart. Size of test block (outer diameter × wall thickness × length): φ 126 × 13 × 100mm, figure of test block is as follows.

Test Block
Detection system:

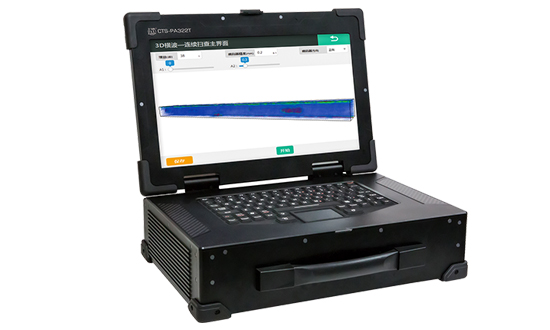
CTS-PA322T
3. Detection conclusion of HP40 furnace tube

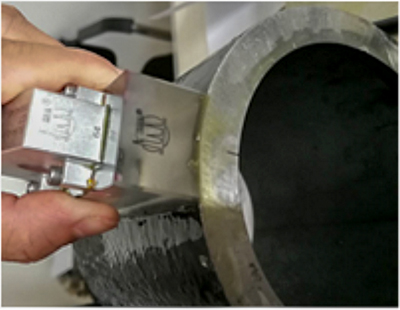
3D-TFM detection

3D total focus imaging


